Writing Dialogues
This guide covers how to create dialogue content using the visual node editor. For complete field-level details on every node type, see the Node Reference.
Text Nodes
Text nodes are the core building block of any dialogue. Each Text node displays a single line of dialogue from a character.
Adding Dialogue Lines
- Right-click the graph canvas and select Add Node > Text.
- Select a Speaker from the dropdown. The dropdown shows characters from the dialogue's cast first, with an "All Characters..." option to browse the full database.
- Type the dialogue line in the Dialogue text area.
Speaker and Listener
- Speaker -- The character whose name and portrait appear in the dialogue UI. Set via the dropdown at the top of the node.
- Listener -- Set at the dialogue level or through the
DialogueRunnerAPI. Used for text substitution patterns like{Listener}and{Listener.Field}.
When a Text node executes, the CurrentSpeakerId on the DialogueRunner is updated automatically.
Voice Clips
Each Text node supports a voice audio clip for voice-over. The field adapts to the project's audio backend:
- Unity Audio -- Drag an
AudioClipinto the "Audio Clip" field. - FMOD -- Enter the FMOD event path (e.g.,
event:/VO/merchant_greeting).
Enable Wait for voice audio to hold the dialogue until the voice clip finishes playing before allowing the player to continue.
Typewriter Tags
Inline tags control typewriter behavior when the DialogueRunner has typewriter enabled:
| Tag | Effect |
|---|---|
<speed=2> | Multiplies typing speed (2 = twice as fast). Resets at end of node. |
<pause=1.5> | Pauses the typewriter for 1.5 seconds mid-line. |
<input> | Pauses the typewriter and waits for the player to press continue before resuming the same line. |
Insert tags using the Speed, Pause, and Input buttons below the text area, or type them directly. Tags are stripped from the final displayed text.
Variable Substitution
Embed variables in dialogue text using curly braces. The { } button on the text area opens a menu of all available variables:
Welcome, {PlayerName}! Your reputation is {Speaker.Reputation}.
Variables are color-coded in the editor: amber for valid references, red for undefined variables. See Text Substitution Reference for all supported patterns.
Run Once
Enable Run once (skip on revisit) to make a Text node execute only the first time the player reaches it. On subsequent visits, the node is skipped and the dialogue advances to the next connected node. Requires DialogueCraftPersistence to track visited nodes.
Node Labels
Any node can have a Label (shown below the text area on Text nodes). Labels serve as named targets for Jump nodes. If a label is set, the node title updates to show it in brackets, e.g., Dialogue [greeting].
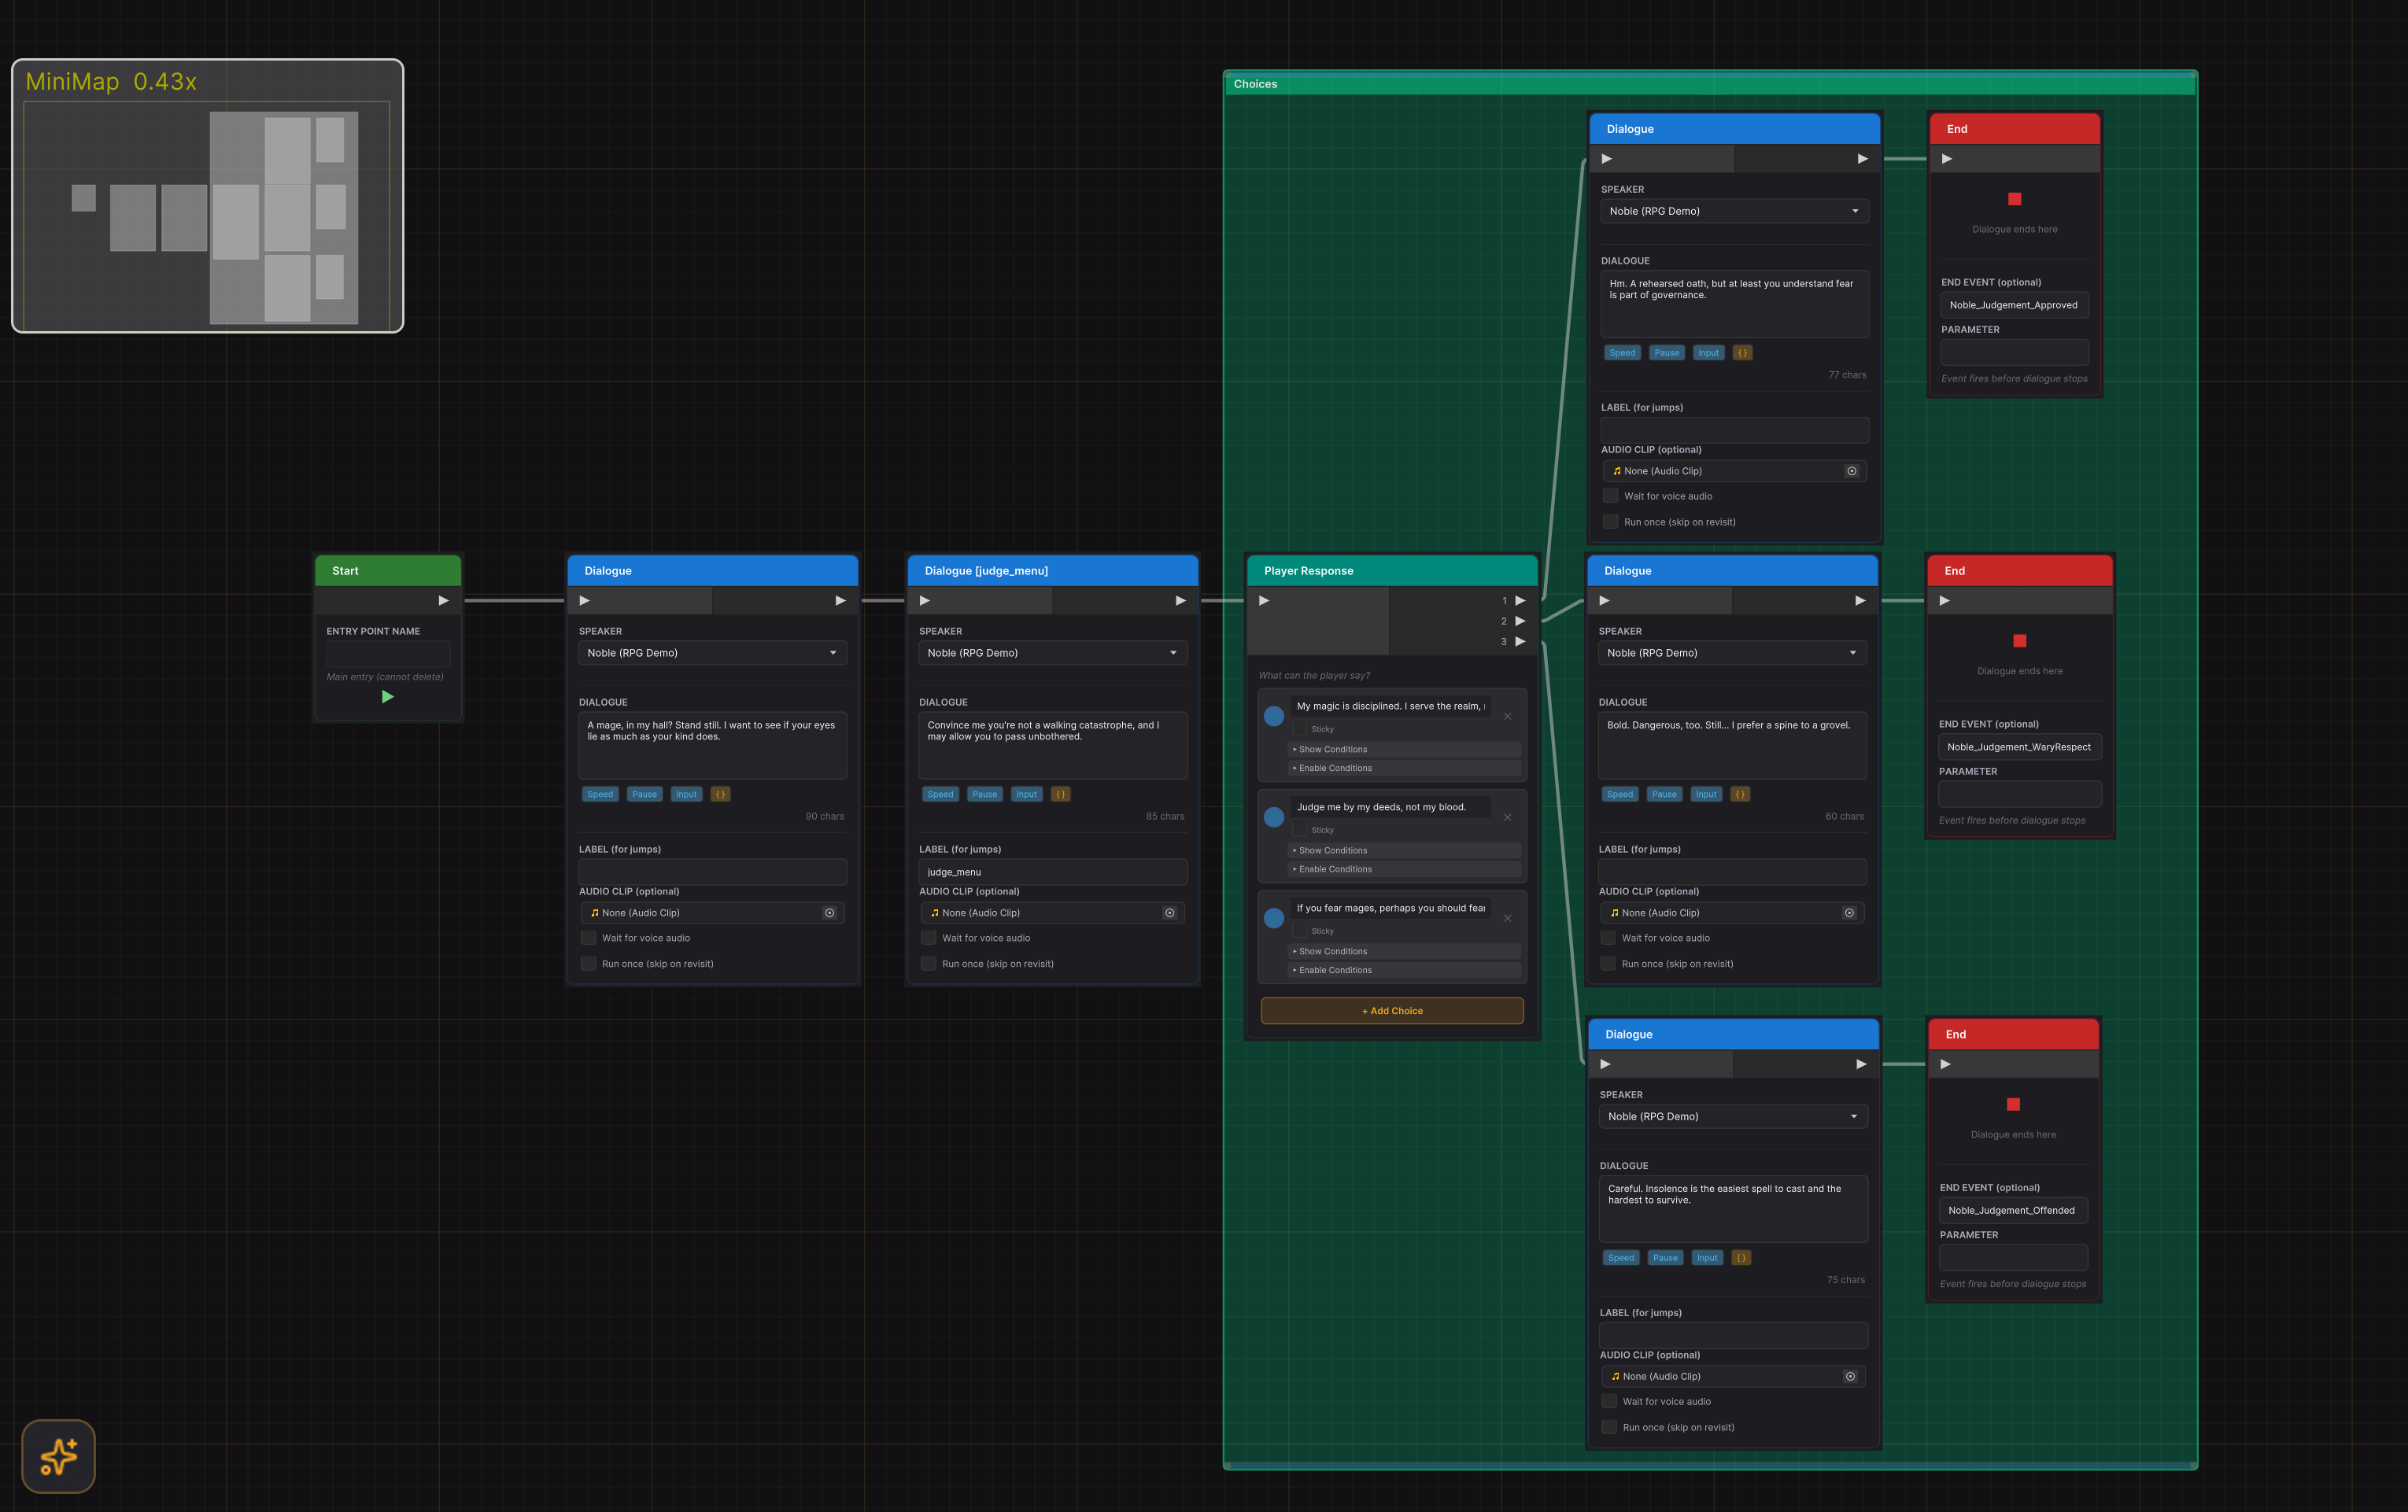
Choice Nodes
Choice nodes present the player with a list of response options. Each choice creates an output port that connects to the dialogue branch for that response.
Creating Choices
- Right-click and select Add Node > Choice.
- Each choice has a text field for the response text and a numbered output port.
- Click + Add Choice to add more options. The minimum is two choices.
- Connect each choice's output to the next node in that branch.
Choice Conditions
Each choice supports two tiers of conditions:
- Show Conditions -- If any condition fails, the choice is hidden entirely. The player never sees it.
- Enable Conditions -- If any condition fails, the choice is visible but greyed out (disabled). Use the Reason field to explain why (e.g., "Requires 50 gold").
Expand the "Show Conditions" or "Enable Conditions" sections on each choice card to configure conditions. Conditions can compare variables to literal values or to other variables.
Sticky Choices
Enable the Sticky toggle on a choice to make it loop back. When the player selects a sticky choice, the dialogue follows that branch, and when the branch ends (reaches a dead end or an End node), it returns to the choice menu automatically. This is useful for:
- Shop menus where the player browses multiple items
- Information dialogues where the player asks several questions
- Any "hub" interaction where the player should return to a central menu
Choice Patterns
Simple question and answer:
[Text: "What brings you to the village?"]
    |
[Choice]
    1: "I'm looking for work"      --> [Text: "The mine is hiring..."]
    2: "Just passing through"       --> [Text: "Safe travels then."]
    3: "None of your business"      --> [Text: "Fair enough."]
Conditional choice:
Choice 1: "I'll buy it" (Enable: Gold >= 50)
Choice 2: "Too expensive" (always shown)
Branching
Branch nodes route the dialogue based on variable conditions without player input. They evaluate conditions top-to-bottom and follow the first branch that passes.
Setting Up Branches
- Right-click and select Add Node > Branch.
- Click + Add Condition to add branch cases. Each case has a label (shown on the output port) and one or more conditions.
- The Else output at the bottom fires when no branch conditions match.
Condition Logic
Each branch case supports multiple conditions with AND/OR logic:
- AND (default) -- All conditions must pass.
- OR -- Any single condition must pass. Toggle the OR checkbox when a branch has more than one condition.
Condition Operators
| Operator | Symbol | Works With |
|---|---|---|
| Equals | == | All types |
| Not Equals | != | All types |
| Greater Than | > | int, float |
| Greater Than or Equal | >= | int, float |
| Less Than | < | int, float |
| Less Than or Equal | <= | int, float |
| Contains | has | string |
| Starts With | starts | string |
| Ends With | ends | string |
| Is True | is true | bool |
| Is False | is false | bool |
| Is Set | is set | All types |
| Is Not Set | not set | All types |
Variable-to-Variable Comparison
Conditions can compare against another variable instead of a literal value. Click the toggle button on a condition row to switch between value mode (=) and variable mode. This enables comparisons like playerLevel >= enemyLevel.
Variable Scopes in Conditions
Conditions support all three variable scopes:
- Global -- Variables that persist across dialogues and sessions.
- Actor -- Per-character fields (e.g.,
Merchant.Friendship). - Local -- Dialogue-scoped variables that reset when the dialogue ends.
Flow Control
Jump Nodes
Jump nodes redirect dialogue flow to another node in the same dialogue by label. Unlike connections, jumps can target any labeled node, including nodes earlier in the graph (creating loops).
- Set a Label on the target node (any node type supports labels).
- In the Jump node, select the target label from the dropdown.
- Jump nodes have no output port -- the jump IS the output.
Use case: Returning to a conversation hub, repeating a section, or creating loops.
Random Nodes
Random nodes randomly select one of several output paths. Each output has a configurable weight that determines selection probability.
- Add or remove outputs with the + and - buttons.
- Adjust weights to bias the selection (e.g., weight 3 is three times more likely than weight 1).
- Minimum of two outputs.
Use case: Varying NPC greetings, randomized encounters, or procedural dialogue variation.
Wait Nodes
Wait nodes pause the dialogue for a specified duration.
- Set the Duration in seconds. Preset buttons (0.5s, 1s, 2s, 5s) are available for common values.
- Enable Player can skip to allow the player to bypass the wait by pressing continue.
Use case: Dramatic pauses, timed transitions, or waiting for an animation to play.
End Nodes
End nodes explicitly terminate the dialogue. While leaving a node's output unconnected also ends the dialogue, End nodes make termination points visible and can fire an optional event.
- Set an End Event Name and optional Parameter to trigger game logic when the dialogue ends at this specific point.
- If the dialogue is in a sub-dialogue, the End node returns to the parent dialogue instead of fully stopping.
Use case: Clearly marking dialogue endings, firing different completion events for different outcomes.
Sub-Dialogue Nodes
Sub-dialogue nodes call another DialogueAsset and return when it completes. They function like subroutine calls for dialogues.
- Drag a
DialogueAssetinto the Dialogue Asset field. - Optionally select an Entry Point if the target dialogue has multiple named entry points.
- When the sub-dialogue ends (via End node or dead end), execution continues from the Sub-dialogue node's output port.
- Variables are inherited -- the sub-dialogue can read and modify the parent's variables.
Use case: Shared greetings, reusable shop interactions, or modular dialogue segments.
Sequence Nodes
Sequence nodes control cinematic and gameplay elements during dialogue. They execute automatically (no player input required) and optionally wait for completion before advancing.
For complete field-level documentation, see the Node Reference.
| Node | Purpose | Key Fields |
|---|---|---|
| Timeline | Plays, stops, pauses, or resumes a Timeline asset | timeline, action, waitForCompletion, canSkip |
| Camera | Switches to a Cinemachine virtual camera | cameraName, priority, blendTime, resetOnDialogueEnd |
| Fade | Fades the screen in or out | mode (In/Out), duration, color, waitForCompletion |
| Audio | Plays or stops audio (SFX, music, voice, ambient) | audioClip/fmodEventPath, channel, volume, loop, fadeIn/Out |
| Actor | Moves, rotates, or shows/hides characters | actorId, action (LookAt/Face/MoveTo/SetActive), targetId, duration |
| Animate | Controls Animator parameters and states | actorId, mode (Trigger/SetBool/SetInt/SetFloat/PlayState), parameterName |
| Signal | Waits for a game signal before continuing | signalName, timeout, continueOnTimeout |
| Shake | Shakes the camera or UI for impact | target (Camera/UI/Both), intensity, duration |
| Spawn | Instantiates or destroys GameObjects | action (Spawn/Destroy), prefab, spawnPointId, objectName |
Common Patterns
Cutscene sequence:
[Fade Out] --> [Camera: CloseUp_NPC] --> [Fade In] --> [Text: dramatic reveal]
Character entrance:
[Actor: SetActive true] --> [Actor: MoveTo waypoint] --> [Animate: Trigger wave] --> [Text: greeting]
Background music change:
[Audio: Stop Music] --> [Audio: Play battle_music loop] --> [Text: combat dialogue]
Comment Boxes
Comment boxes help organize complex dialogue graphs visually. They have no runtime effect.
Comment Nodes
Comment nodes are standalone notes placed on the graph. Right-click and select Add Node > Comment to create one. They have no ports and are skipped at runtime.
Comment Boxes (Groups)
Comment boxes are resizable background regions that visually group related nodes:
- Right-click the canvas and select Add Comment Box.
- Give the box a title and optional hover text (tooltip).
- Resize by dragging the edges. Move the box to reposition all overlapping nodes together.
- Nodes inside can still be moved independently.
- Deleting a comment box does not delete the nodes inside it.
Both comment types support custom background colors.
Best Practices
Graph Organization
- Flow left to right. Place Entry nodes on the left, End nodes on the right. This matches the natural reading direction and port layout (input left, output right).
- Use comment boxes to group related sections (e.g., "Shop Interaction", "Quest Branch", "Farewell").
- Label key nodes so Jump nodes can target them by name. Use descriptive labels like
greeting,shop_menu, orquest_accept.
Dialogue Structure
- Place a Text node before each Choice node. Choice nodes only display options -- they do not show NPC dialogue. Always precede a Choice with a Text node containing the NPC's question or prompt.
- Use Sub-dialogues for reusable content. Shared greetings, shop menus, and common interactions should be separate
DialogueAssetscalled via Sub-dialogue nodes. - Use End nodes explicitly. Rather than leaving connections dangling, place End nodes at every termination point. This makes the graph readable and allows per-ending events.
Variables and Conditions
- Prefer global variables for persistent state (quest flags, player stats) and local variables for dialogue-scoped tracking (conversation choices within a single interaction).
- Use Branch nodes for NPC-driven logic (the NPC reacts differently based on game state) and Choice conditions for player-facing options (greying out or hiding options the player cannot select).
- Name variables clearly.
HasMetMerchantis better thanflag1. Variable names appear in condition dropdowns.
Performance
- Keep individual dialogues focused. A dialogue with 200+ nodes becomes hard to navigate. Split large conversations into sub-dialogues.
- Test with the Preview panel. Use the built-in preview (accessible from the editor toolbar) to walk through dialogue paths without entering play mode.